Before we get to the steps, let’s briefly discuss why sensory bins are so important. Sensory bins provide children with a very hands-on play experience that stimulates multiple senses at the same time. Children enjoy the repetitive nature of the play like the dumping, pouring, scooping while listening to the water splash or the buttons clink. Sensory bins allow children to explore, discover new things, understand cause and effect, problem solve and demonstrate science and math concepts. It is a calming and very soothing activity for many children and fairly simple and inexpensive to create.
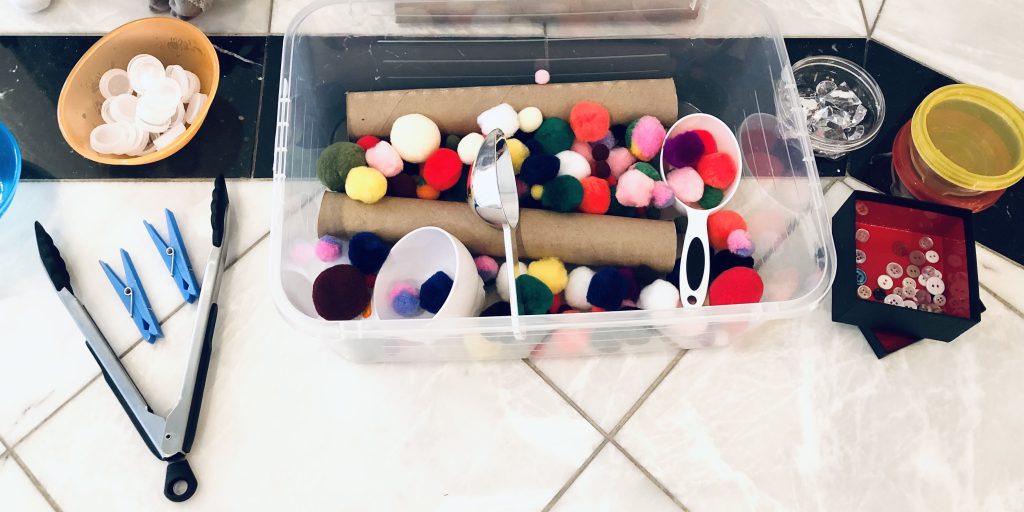
Follow These 4 Steps
1. Start with a bin
2. Add fillers
3. Add tools
4. Place in front of your child to explore
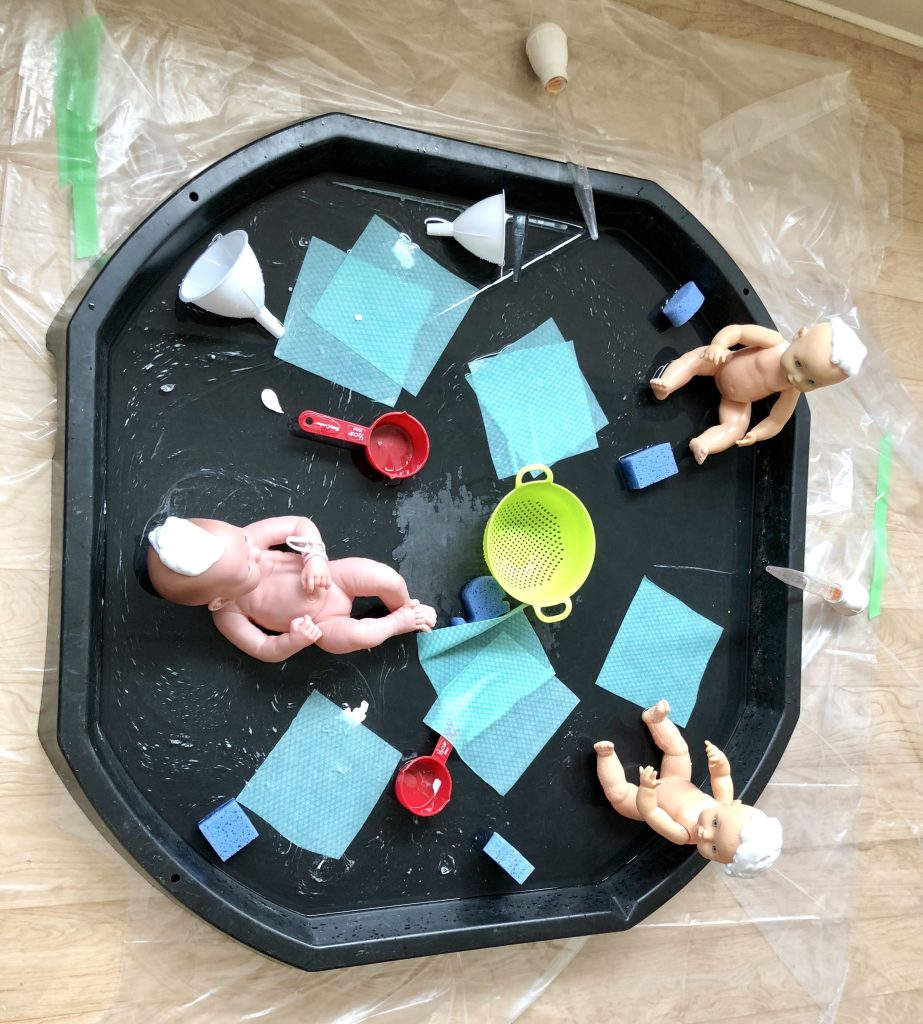
** Optional – add elements that encourage imaginary play
So, let me explain. Find a bin in your home. You can use a Tupperware, a bowl, a tin foil tray, a baking pan or baking tray. Next, add your fillers. Fillers are what the sensory bin consists of. It’s your base. So, water, buttons, pom poms, bottle caps, sand. Rice, oats and pasta are very popular fillers but I tend to stay away from using food. Working in a classroom with 15 toddlers, there would be rice, beans and lentils ALL over the floor that would get swept up at the end of the day and thrown right into the trash for obvious sanitary reasons. I did not want to teach my students that food should be so easily wasted. Instead, I like to use and recommend non-food items.
Now, find your tools. Tools are what we add to our sensory bins that allow children to manipulate, to move and to explore these fillers. For example, tools can include bowls, measuring spoons, cups, strainers and water pitchers. It is key to include things to scoop with and things to fill in your sensory bins. Remember, there needs to be a purpose and something to do.
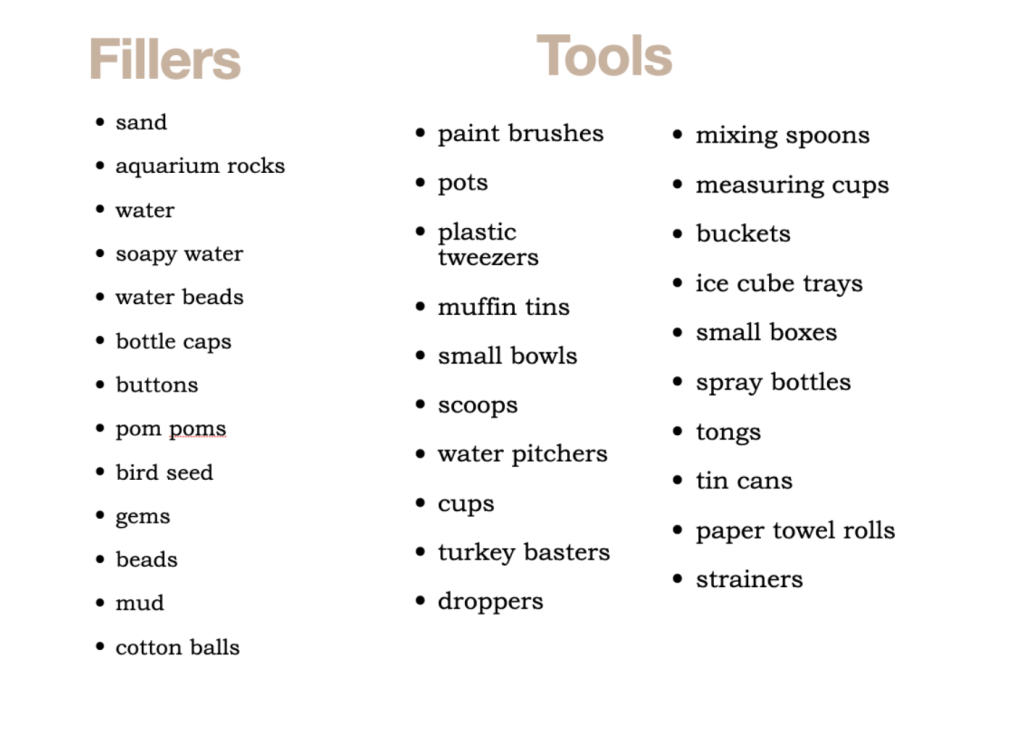
Children have a natural urge to explore materials and objects in certain ways to make sense of the world around them. They like to dump things, pour, scoop, connect and disconnect things, transform and transport things and hide things which is why sensory bins are so appealing to children. By providing sensory bins with appropriate fillers and tools, you are catering to this kind of play and repetitive behaviour.
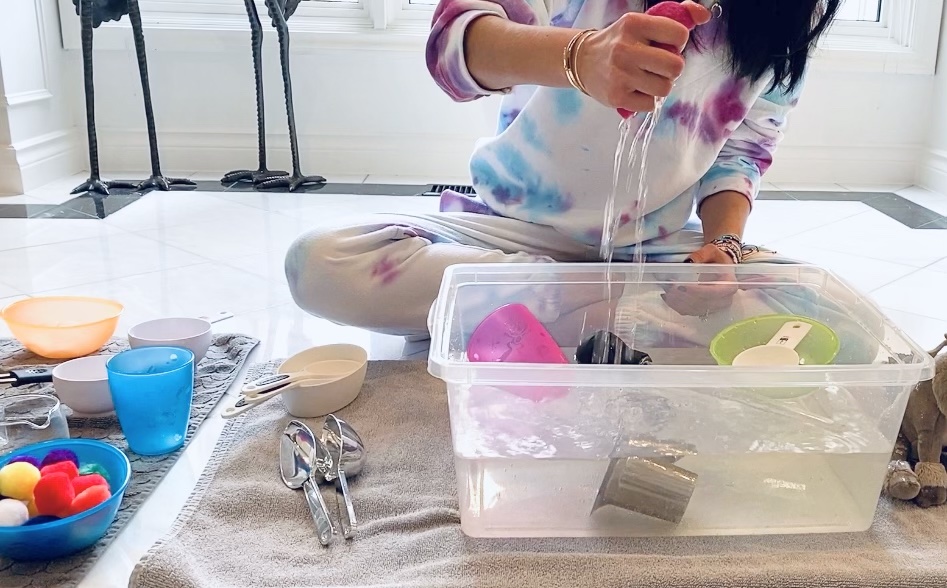
Once your sensory bin is complete, place it in front of your child and simply let them do their thing and explore. Sensory bins do not need to be fancy or expensive. Keep it simple. You have plenty of amazing tools in your kitchen. Once you have your fillers and tools, you can then add ‘toys’ to encourage imaginary play like cars, animals, dinosaurs or whatever else your child is interested in. If your child likes washing dishes, fill a sensory bin with water, bubbles, sponges, spoons, cups and bowls. If your child loves the beach, fill a bin with sand, shovels, pails and seashells. Add some water and watch your child discover what happens when you mix water and sand!

Leave A Reply